Showing posts with label tutorials. Show all posts

Friday, 20 July 2012

Cupcaking Competitions!!

Just returned from an amazing trip to Estonia, where we met some long lost relatives! Sadly I’ve not got a trip to NYC planned next as I didn’t win the Dr Oetker Cupcake Challenge!!!!!!!!!!! Realistically I knew I wasn’t in with a shot but it was fun to come up with some ideas for original cupcakes!!!


My favourite one to create and make was the Tea for Two. I even handpainted the pattern in my fave purple colour!!! The whole thing is completely edible (and tasty too!!).


These are very simple to make, Here’s how I did it;

Step 1 Bake or buy some cupcakes!!

Step 2 Take some ready roll icing (of course I use the Dr Oetker variety!!!) and roll out thinly. Gently drape the icing over an upturned glass, covered in cling-film, and trim with a sharp knife. Leave to harden. These will form the cups!


Step 3. Run across the road and borrow some plastic Barbie saucers from your 6 year old neighbour and use to mould the edible saucers, just like you did with the cups!


Step 4. Next roll out some ready-roll icing in your hands to make a small flat sausage for the handles. Using your cups as a guide curve the handle so they will sit happily on the cups. Leave to harden again!!


Step 5. Using edible glue, attach the handles to the tea-cups and leave to dry. You may need to support the handles with some sponges cut to size. When dried pop the cups and saucers off their moulds. Wash and return the Barbie saucers to generous neighour!!


Step 6. Pick your colours for the pattern on the tea-cups. In a paint palette add a few drops of water and a few drops of the chosen colouring to each paint grove and mix. Note; I use gel icing colourings as I think the colours work better, but liqud food colouring will work just as well, just use straight from the bottle, no need to dilute!!!! Sit down, pour yourself an actual cup of tea and get arty!!! Paint your pattern straight onto the tea-cup, using a cotton bud if needed to mop up any drips!! Leave to dry!


Step 7. Place a cupcake in the tea-cup and decide on your topping!! I used a chocolate cream, made by whipping together double cream and melted chocolate, but traditional ganache would look great too. I chose the whipped cream as I felt it would be lighter and not put too much pressure on the fragile tea-cups!!
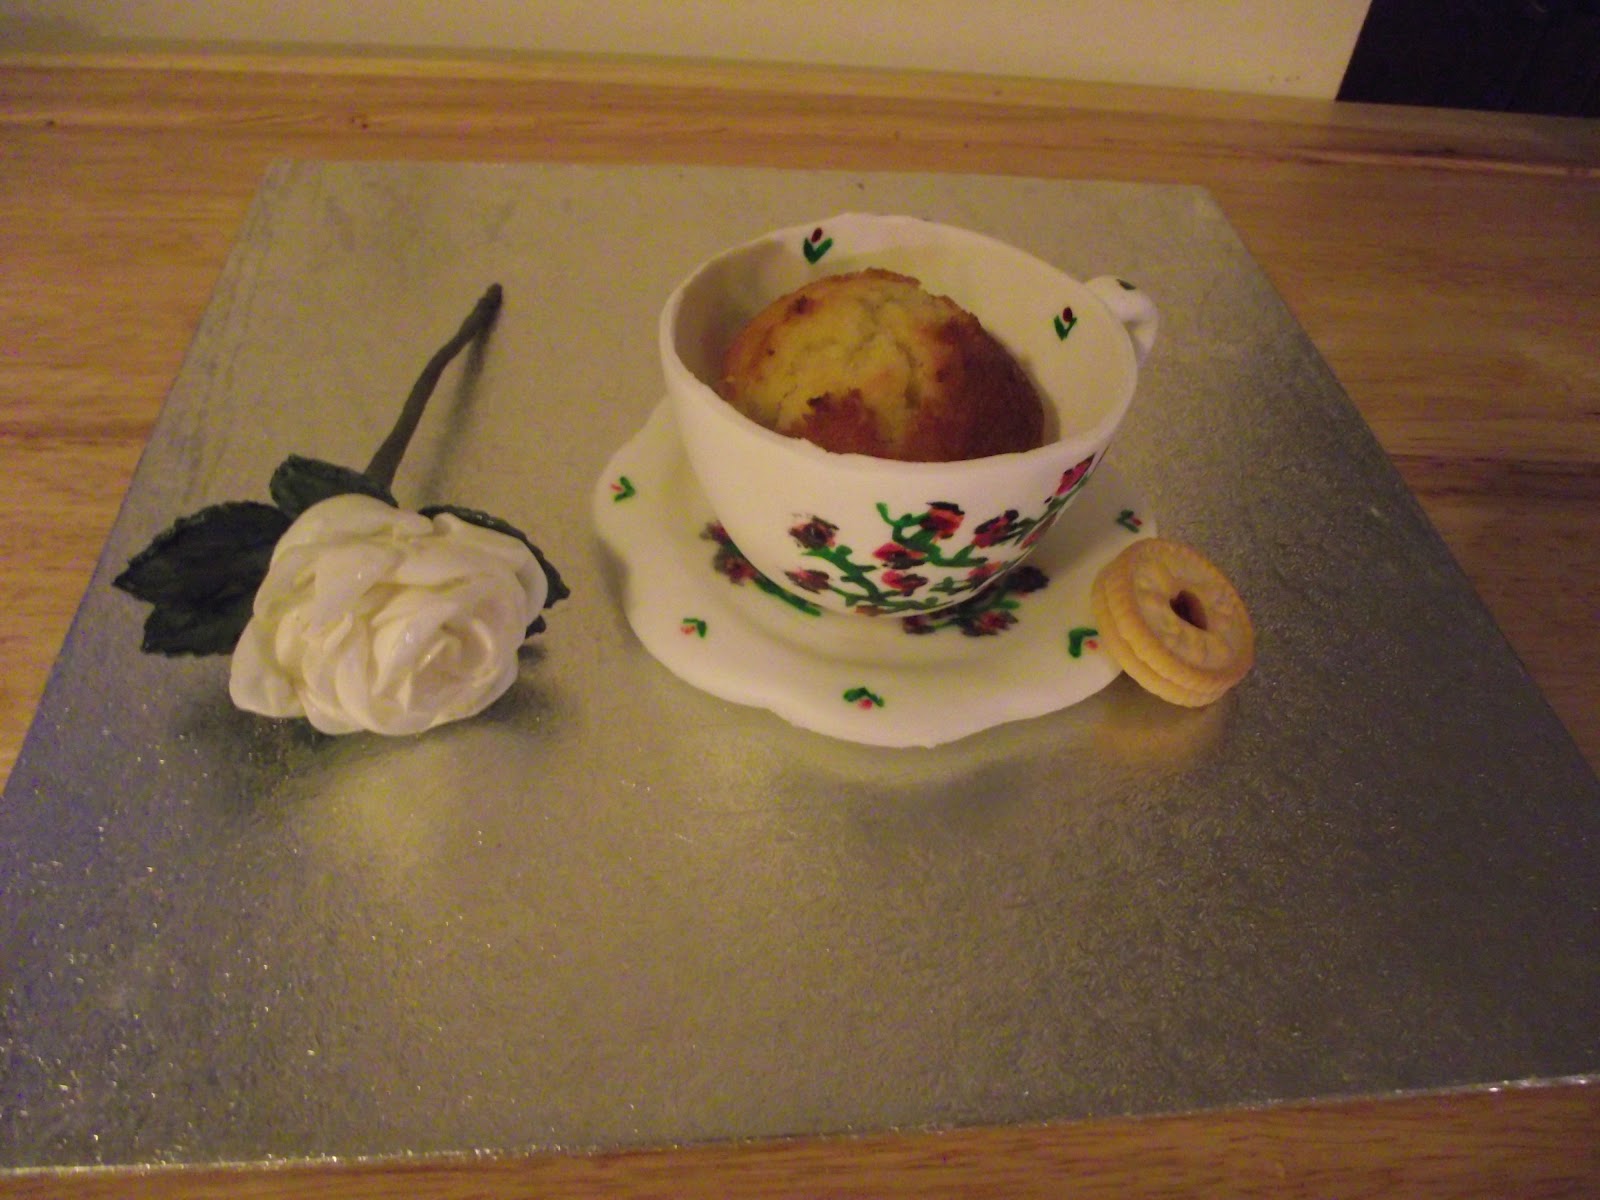


Step 8. Finally display your fabulous creations on a tea tray with a mini version of your fave biscuit (Mine is dark chocolate caramel digestives, but sadly all we had were jammie dodgers  ) and an edible flower created in cake decorating class!!!! Photograph to your hearts content!!!!
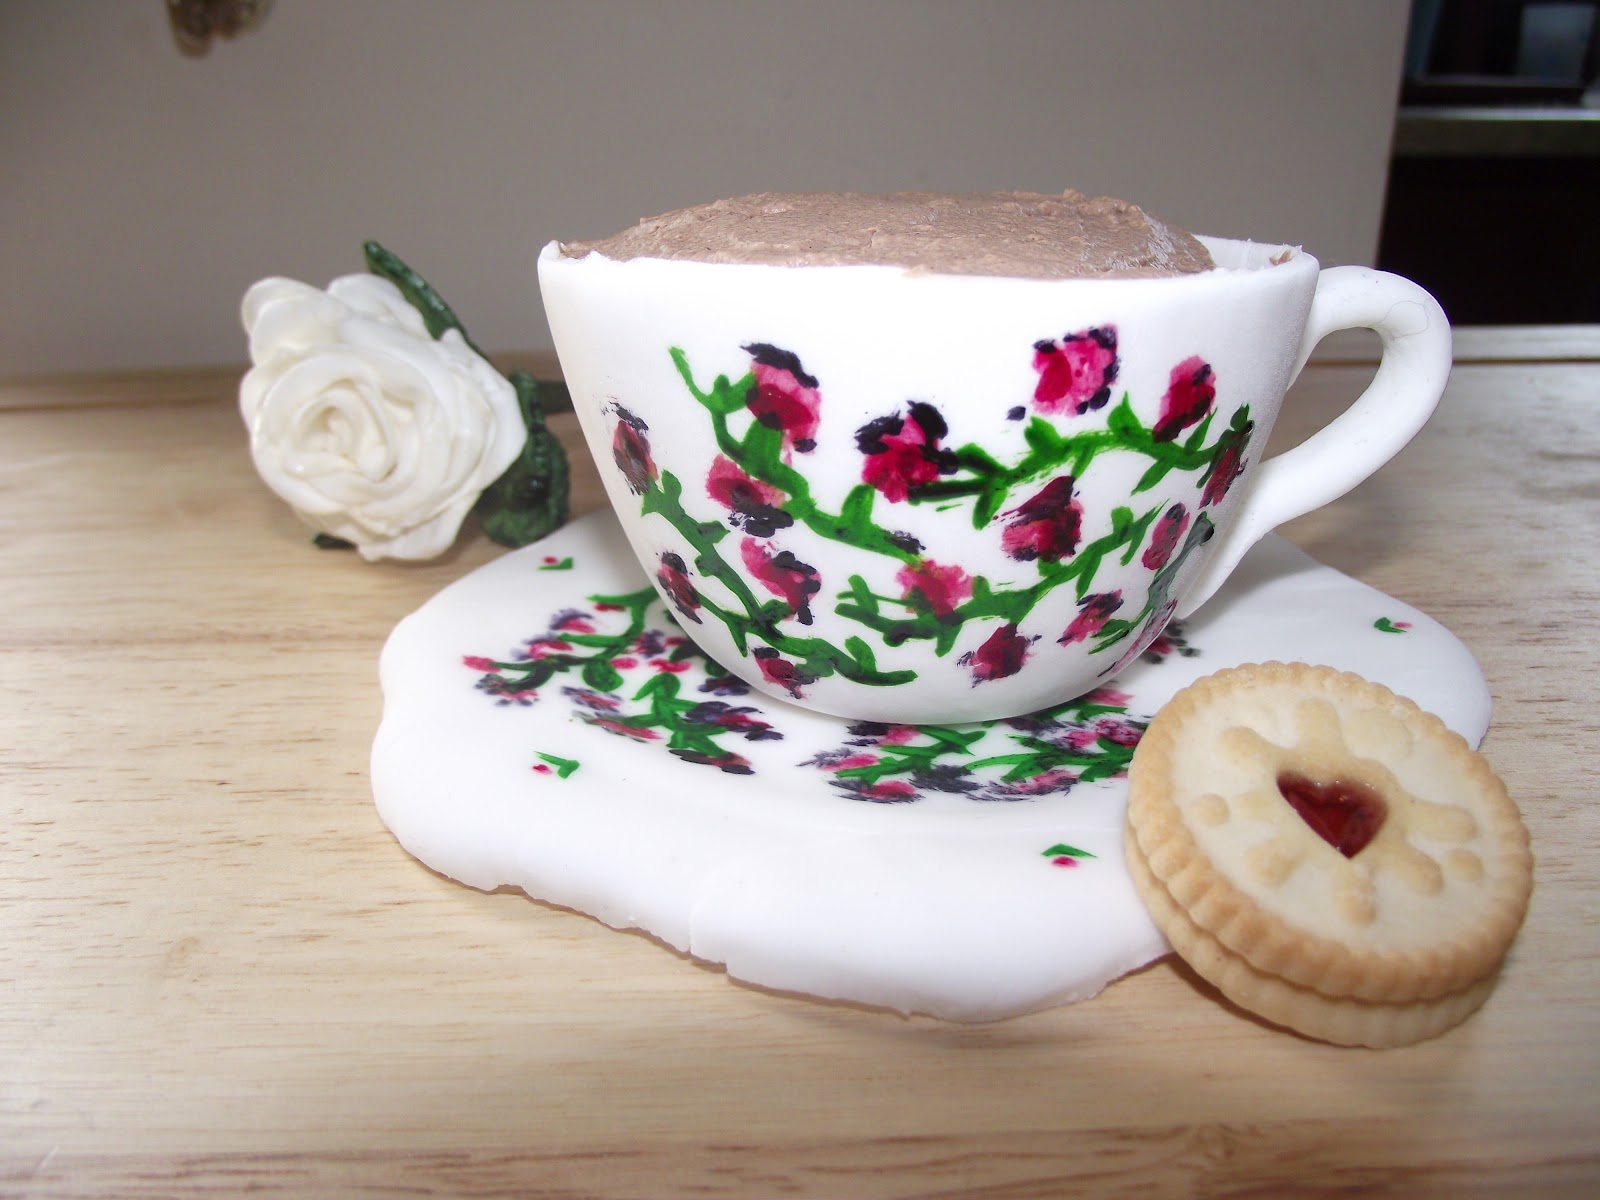


Step 9. Devour with a real cuppa while watching ‘Revenge!’


Hope you enjoy my Tea for Two!! I thought it was an original idea but since the comp have been googling teacup cupcakes loads and discovered that others did get there first....... Oh well there’s always next year!!!


Here are my other entries, which failed to make the grade, but which entertained me for hours so himself could watch the Euros!!!!!


A bite out of th Big Apple (from the Hello Cupcake series of books!)

Up, Cake and Away!! (Modelled by Dylan!! My first attempt at basket weaving icing!! The balloon bit is Dr. Oetker mini marshmallows melted with rice crispies and shaped into a balloon!)


Fairy Cake of New York! The wings are made from Dr. Oetker edible paper. Her skirt is an up-side down cupcake and the rest is Dr Oetker Ready-to-roll icing, and their edible stars!!
Think I may have entered some others too, Will hunt down the rest of the pics!! Have a great weekend!!

xXx

Wednesday, 11 May 2011

'Go Fly a Kite' ~ Celebratory 3D Origami Kite Cupcake Toppers

Last month I signed up for the 'OffBeat Holiday Toppers: June' swap and received a totally awesome package featuring gorgeous toppers to celebrate the Queen's birthday. My partner also sent 2 PB Twixes, which I'd heard whisperings of but now know actually exist and are divine, a PEZ dispenser, flamingo drink stirrers and a Queen of Hearts notecard. It was an absolutely amazing package and arrived just in time for my birthday!!!

With other swaps, my birthday, Mums birthday and my son's midterm out of the way I focussed on my end of the swap. There were so many random holidays in June it was hard to pick just one. In the end I opted for a fun day celebrated twice in June; 15th & 24th, Go Fly a Kite Day!

Step 1 was to draw out some cloud shapes and choose my 2 faves. I then cut 6 of each out of white card and glued on the sticks. I had to use coffee stirrers as cannot get lollipop sticks or craft picks for love or money here, and cocktail sticks are too flimsy. Forgive the quality of the photos, my camera is out of batteries and I can't afford new ones, I'm saving up for some rechargable ones so I'm not caught out again!!!


Next, the fun bit: making the origami kites! For the topper,s I made mini-kites using 1.5" x 1.5" squares of paper, folding them diagonally into triangles;


Open up and fold the same corners (the ones without the central line running through them!)into the middle, so that the two adjacent edges meet in the middle. Fold down the top corner to create the lines and shape of the kite;


Next tape a short length of embroidery thread/ ribbon inside the kite, and extending out, Refold up the kites, taping the folded in flaps together at the back. Make sure not to take these flaps to the front piece of the kite to ensure they remain 3D, i.e. not flat!!


 Glue the kites to the clouds on sticks and bang some cupcakes in the oven to display your beautiful creations!!! 


Take on a picnic to the park, and remember to pack your kite!!

'Let's Go Fly a Kite...'


Tuesday, 26 October 2010

Keeping Busy While Baby Keeps us Waiting!!

So yesterday was my due date, but there's still no sign of ought happening...

Last week I spent my days tidying the house, scrubbing it from top to bottom and getting rid of all the big and little dust bunnies... (Needless to say the long weekend undid most of that hard work)

With Dylan off school this week, and with his cough and the frosty wet weather, we've been looking for ways to keep us busy.

We've put up a giant spider web:


Gone for a walk in the woods and made an autumnal wreath (we didn't do much foragng- hense the sparse decoration!!):


This was really easy to do...
Just get somebody with super-human strength (in this case, my Dad!) to bend a wire coat hanger into a circle, attach pine-cones, conker shells etc with garden wire and tie on a ribbon.... Quick and painless- will look for more foresty finds to spruce (ha ha) it up a bit if baby still hasn't arrived by the weekend...


We made spooky halloween biscuits this morn, and have just finished decorating (and unsticking our fingers, lips and chins) them! For the biscuits just rub together butter (150g) & flour (225g) in a bowl. Mix in caster sugar (125g) & a teaspoon of vanilla extract. Roll out the dough and cut. Bake for 15-20 mins @ gas mark 4/ 175'C:


Friday, 15 October 2010

My Wee Cottage

Having just signed an extended lease on our house, looks like we're here for another good while, so it's time for me to get decorating this bare abode. I'm starting with the bay window sill. I want to knit an entire little village street for the window, so I've started simple with this easy peasy country cottage;


As I'm not clued-up on adding tutorials to my blog I'm just going to copy and paste from Word for now... So here it goes, my super-simple pattern for my country cozy cottage...

This wee house can be knitted up and decorated in only an hour or two. I generally use 4mm needles and DK yarn. Scraps are needed for doors/windows and other decorations, with slightly bigger oddments for the walls/roof. The main body of the house is knitted in 4 pieces;
  • 2x Side Walls
  • 1x Front, floor and back walls piece, knitted in one piece
  • 1x Roof Piece


Side Walls (Make 2):

Cast on 20 stitches.

Starting with a knit row stocking stitch (st.st.) 14 rows

Row 15- K1 K2tog knit until last 3 stitches, then K2tog K1

Row 16- P1 P2tog purl until last 3 stitches, then P2tog P1

Repeat rows 15 & 16 until 4 stitches remain.

Then K2tog K2tog to give 2 stitches. P2tog and pass wool through the final stitch.


Floor, Front& Back Walls:

Cast on 20 stitches

St.st. 48 rows

Cast off


Roof:

Cast on 22 stitches

Garter stitch 28 rows

Cast off.


Windows:
Cast on 4 stitches. St.st. 4 rows. Cast off


Door:
Cast on 5 stitches. St.st. 8 rows. Cast off


Chimney:
Cast on 4 stitches. St.st. 10 rows. Cast off


Making Up:
Sew side wall pieces to the floor and walls piece to form a boat shape.


Sew one end of the roof to the front of the house 1 or 2 rows up from cast-on edge of the roof to form a ledge.
Sew the windows to the house using black/brown wool to form the window frames. Sew the door using the same colour wool as the door. Embroider a knocker and letterbox using a simple stitch.


Ivy can be embroidered to the side of the house.


Next cut a long piece of cardboard and shape into a rectangle to fit inside the house and give it shape when stuffed. My rectangle was 7cm x 5cm.


Place a few stones/rice/sand in the base to weigh it down. Continue to sew the roof to the front slopes. Add the chimney. Add a further piece of folded card to support the roof and tape it to the square supporting the walls. Stuff and continue to sew the roof to the house, remembering to sew in a row from the cast off edge of the roof, for an overhang.
And that's it!! Next up... A Lighthouse- Don't expect it any time soon though I am extremely slooooooowww......